Feb 23, 2022 / Insoles
How To Clean Your Insoles
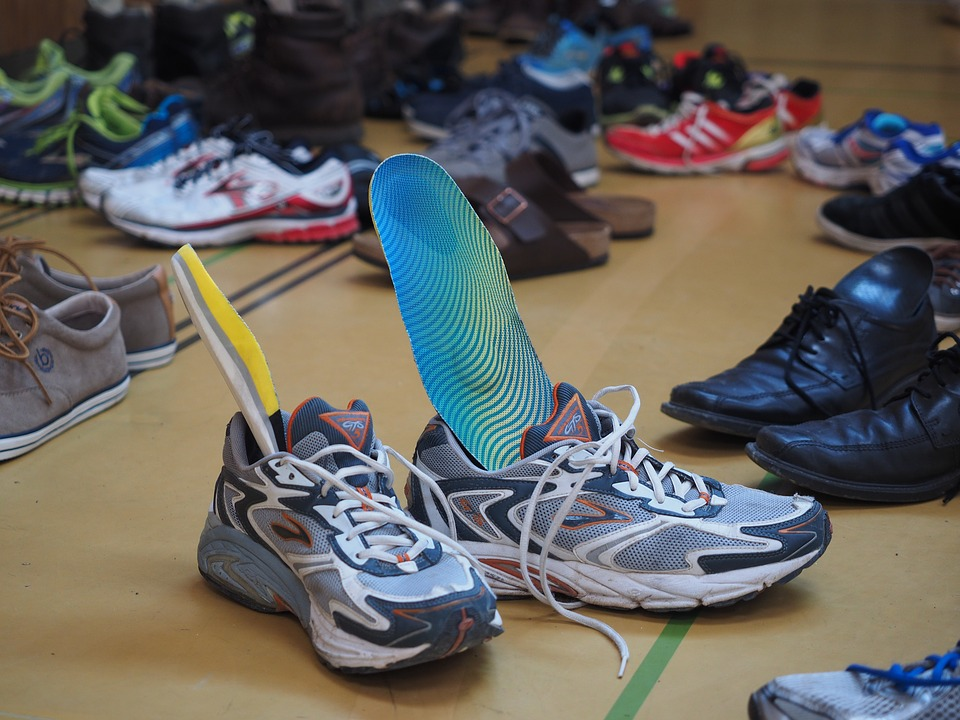
Got stinky shoes? Perhaps you are familiar with cleaning your shoes or your work boots, but there is a good possibility you have never taken the time to clean your insoles!
Don’t worry, if you’ve never cleaned your insoles, you are likely in good company, but with that said, there is no time like right now to get started!
Cleaning your insoles is a relatively simple process that doesn’t require too much work. Even still, we have developed the essential guide for how to clean your insoles that includes the tools you will need and a step-by-step guide for thoroughly cleaning your insoles.
Before we get into the step-by-step process of cleaning, here are the tools you will need to clean your insoles properly:
- A medium-sized plastic basin for soaking/washing your shoes
- A soft-bristled old toothbrush to gently clean the insoles
- A mild soap like fragrance free laundry detergent, dish soap, woolite, or our personal favorite soap for cleaning insoles is baby shampoo! Fragrance-free soaps tend to be most effective as they generally eradicate odors, rather than masking them.
- A large towel to set your insoles on to dry
- A second large towel to pat your insoles dry
Why should you clean your insoles?
Here are some of the top reasons for cleaning your insoles
1) Foot Odor
No shame in this game. Foot odor is a problem that is far more common than you may think! Most of us spend 8 hours a day or more in our shoes, so it should really come as no surprise that foot odor plagues nearly 16 percent of American adults. That means that approximately 36 million Americans suffer from some kind of foot odor. Aside from keeping your feet clean and moisture free, regularly cleaning your insoles can help eradicate odor causing bacteria and help prevent new ones from taking hold. Cleaning your insoles is a great way to keep your foot odor in check.
2) To Help Them Last
You might already have researched the best insoles for work boots or the best insoles for standing all day, but you have to make sure you take care of them! Dirt, dust, sweat, debris, and general grime all contribute to the corrosion of fabric, especially the kinds that insoles are made of! As dirt builds up inside of your shoes (even thin layers that you can’t necessarily feel), it begins to seep into your insoles. Over time your foot presses this grime deeper and deeper into the fabric of your shoe insole until it starts to cause corrosion from the deepest levels. Periodically cleaning your shoe’s insoles is a great way to ensure that this dirt and grime gets removed, thereby helping the materials of your insole stay intact for longer. Cleaning your insoles doesn’t just help get rid of dirt, it helps preserve the structural integrity of the insole itself!
How to clean your shoe insoles?
Ready To Start Cleaning? Great! Here is a step-by-step guide on how to clean the insoles of your shoes.
1) First things first, remove the insoles from your shoes.
Carefully remove the insoles by peeling up from the sides of the heels simultaneously. Once you have a gap in between the sides of the heel area and the side of the shoe, you can begin to free the heel completely. Run both your fingers underneath the orthotic insoles in between the insole and shoe and slide your fingers back simultaneously until they meet at the heel. This process should loosen the entire heel at once.
After the heel is freed, take three fingers and slowly work your way from the heel to the toe. Don’t rush, you want to make sure you don’t pull the smelly insoles up too hard as that will stretch it out making it harder to get back in. As you work your fingers forward toward the toe, lift up periodically to begin popping the insole out of the bottom of the shoe. Once you get far enough into the toe box, the entire shoe insole should loosen and pop out, leaving you to gently remove it from the shoe. Repeat this process on both the left and the right shoe.
2) Next, you’ll want to prep the insoles for washing
To do this, take your soft bristled brush and just brush off the insoles all over to remove any excess dirt or debris. It is best to complete this step over a sink or trash can so that any debris that comes off the insoles falls directly into an area where you don’t have to clean up any excess mess.
*If you are cleaning the insoles of your boots, athletic shoes or leather shoes because of foot odor, then you may want to pre-treat your insoles before cleaning them. Store-bought remedies like odor eaters (the shoe cleaning spray or the shoe powder) are highly effective, as are baking soda and baby powder. If you are pre-treating your insoles,, you may want to give the treatment some time to take effect. Some odor reduction strategies encourage a shoe powder or shoe cleaning spray to sit for 24 hours before cleaning with soap and water and we would tend to agree.
3) Add a medium amount of soap to the basin and fill your basin with warm water
Typically about 4 tablespoons of soap is an effective amount for a medium sized basin. The best temperature for cleaning your insoles is water that is hot enough for you to handle without scalding yourself. The water should be as warm as possible as warm water will work as a more effective cleaning agent, especially in regards to eradicating odor of your smelly shoe. Additionally, the water level should be about halfway up the basin so that you don’t spill the water as you scrub the insoles.
*If you don’t have a plastic basin available to you, you can plug up the sink and use that as an alternative. Just make sure you clean the sink before you start the process of cleaning the insoles, and after you’re finished. Feet don’t mix well with dishes (and vice versa). If your water isn’t soapy enough after you add the water, you can either add a little extra to the basin and stir it around, or you can add a squirt directly to each insole. Be warned, adding soap directly to the fabric may leave a stain on the insole, but these live inside your shoes, so it shouldn’t really matter that much.
4) Add the insoles to the water and begin the soaking process
Before you really get down to cleaning, it’s important to let the insoles soak a little while. Letting the insoles soak will help to loosen debris, eradicate odors from your smelly insoles, and generally steep out all of the nasty stuff that has collected in your insoles since their last cleaning. Typically you should let your insoles soak for anywhere between 2-3 minutes. You don’t want to leave your insoles soaking for too long as they might get water logged and take too long to dry.
5) Now, it’s time to start scrubbing.
Using a soft bristled brush (something like a nylon brush will do nicely), begin to scrub the insoles one at a time. Don’t be afraid to really apply some elbow grease and work up a bit of a lather under that sudsy water.
Don’t worry, your insoles can take it! Spend about 2-3 minutes on each insole using a circular motion as you scrub. While you certainly can pay some attention to the undersides of the insole where the shoe meets the insole itself, this is more about cleaning the surface that your foot touches as that tends to be the area in most need of cleaning.
Once you have finished one insole, take it out and place it on the large towel to dry. Then, apply the same method to the other insole.
6) Drying your insoles.
It is the easiest part of the whole process, but there are several drying tactics that should be avoided. You may be tempted to pop your insoles into the dryer to get them dry, but this is a bad idea for several reasons.
Aside from the rubber of the insole potentially melting and getting all over your dryer, the dryer could potentially damage the insole in other ways. You wouldn’t want the insole to shrink as it would then be useless, so do your feet a favor and keep your insoles out of the dryer.
Similarly, the sun is a no go for drying insoles. The best method for drying your insoles is simply blotting them dry with the second large towel and then letting them air dry overnight. The drying process shouldn’t take long, so with a little patience, you will have dry insoles that are ready to be re-inserted into your shoes!
Now It’s Your Turn!
There you have it! Armed with this new information, you are all ready to remove your insoles and give them a thorough cleaning. Remember, if you feel like your insoles are past their prime, you can always grab a new pair from Boot World’s great selection of insoles. Our premium selection of insoles are made for all kinds of work boot types and shoe styles to make sure that your feet are comfortable and supported while you're hard at work on your feet.
Reviewed By:

Ed Stone brings over 45 years of footwear knowledge and passion to his role as President of Boot World, a family-owned company and an industry leader in safety and occupational footwear. A second generation "shoe dog” Ed's footwear knowledge is unparalleled, serving as an informal advisor for some of the worlds largest footwear brands including Wolverine, Timberland PRO, and Reebok Works.
A lifelong Southern California resident, and ardent conservationist, Ed enjoys hiking and open water swimming.


related articles
Best Insoles For Standing On Your Feet All Day
When it comes to standing on your feet all day, one of the biggest determining factors in whether or not you will arrive home tired...
read more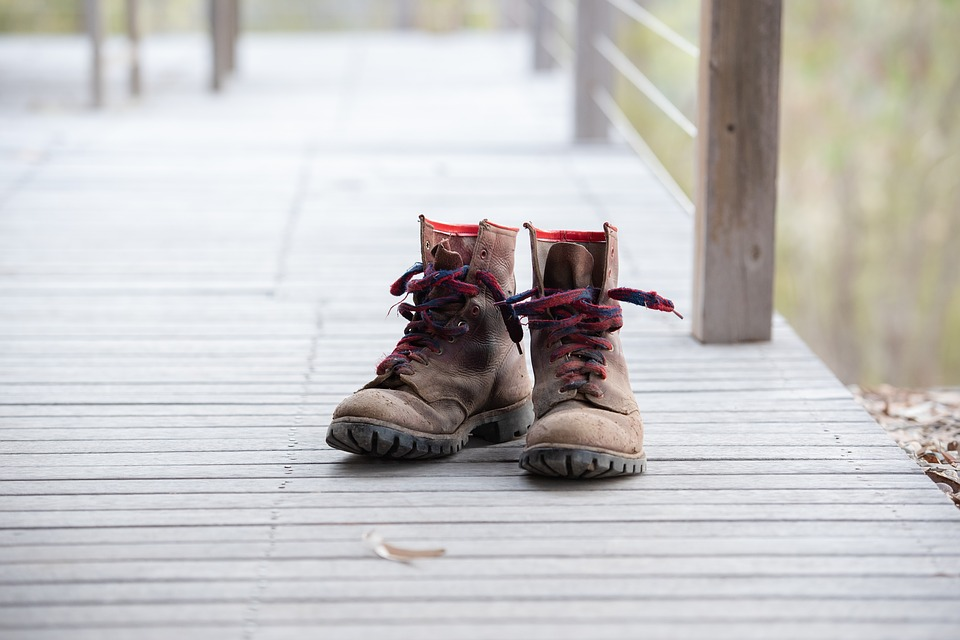
Best Insoles For Work Boots
If you’re someone who spends all day in your work boots, then you’re likely no stranger to fo...
read more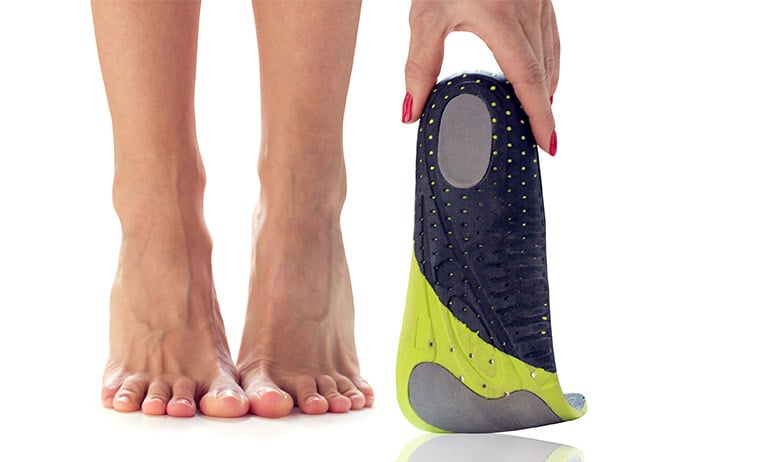
Everything About Supportive Insoles
Maybe you’ve tried supportive insoles before, maybe not. Maybe you have no idea why someone would even need them. We’re here to clear the a...
read more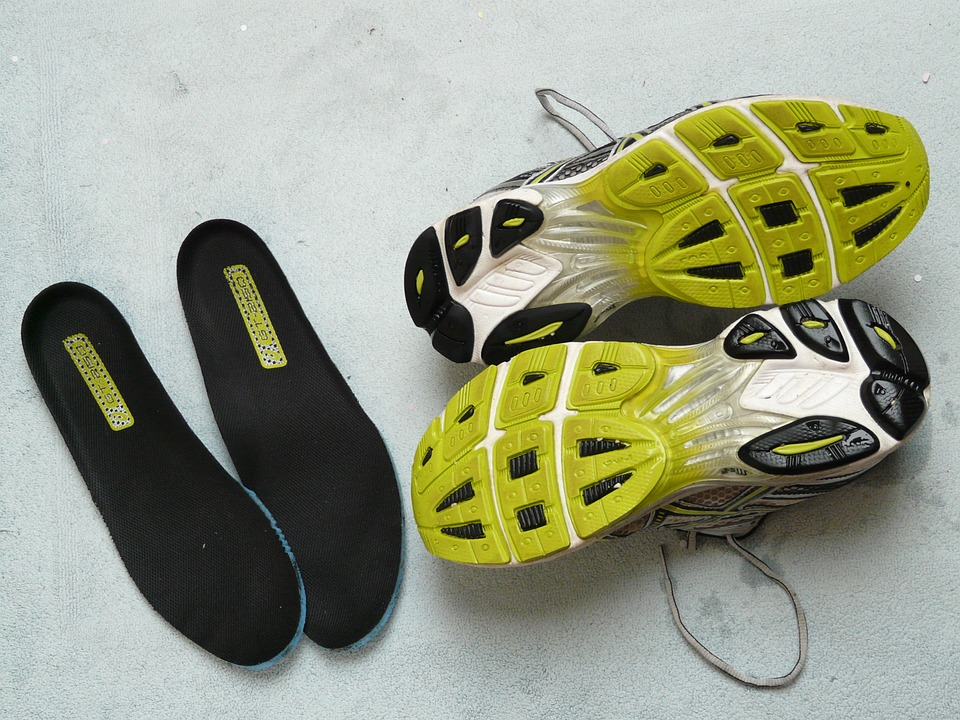
So What Are Insoles?
Insoles, sometimes called the liner are in between the foot and the constructed inner bottom of the shoe. Typically, insoles are a piece of paddin...
read more